I was in a turks head kind of mood today, and decided to wrap the neck of my old Klean Kanteen, and the small detented area of my brand new Sigg bottle. Also i used old scrap paracord for the old bottle, and beand new military issue for the Sigg. Both are 3 lead 5 bight turksheads. In a twist, instead of tucking the standing and working ends inside the knot, I decided to go ahead and make small tassles out of both ends.
On the Sigg I did a lanyard knot, then used a two hole black bean cord lock on the strands. I did a simple blood knot on each strand to keep the cord lock from coming off.
On the Klean Kanteen I used two lanyard knots to finish it up.
I will post better pics tomorrow, my camera is charging. lol
Sunday, July 25, 2010
Wednesday, July 7, 2010
My first attempt at a can koosie. In Vertical Half Hitching
I get a lot of ideas from fellow bloggers and knot tying fanatics. This one came from Stormdrane, who recently posted a koozie in the same hitching. I have been wanting to try a koozie for some time now and wasn't sure which one I wanted to try. This one is a bit difficult for a first attempt, but I'm happy with the results!


As you can see this style works for both cans, and bottles.
I wish I had my camera working, these pics are from my cell phone. I apologize for the quality and will be posting better ones in the near future.
I first learned of this style of hitching from a video tutorial by TIAT on youtube. He has great video tutorials for decorative knots. And all of them are fun to follow along with.
I have a few other projects in the works, and will be posting about them soon.
Wednesday, May 5, 2010
Moku Hitching handle wrap on a Bokken!
For those that don't know, a bokken is a traditional training katana made out of hardwood. Some are oak, some are ash, white ash is the most traditional wood used.
I decided to try a handle wrap on one of my old bokkens to see how it went. I decided to go with Moku hitching for the bulk of the wrap. I used a 1.5mm nylon cord for the moku hitching, as well as for the 3 lead 5 bight turks head knot at the fuchi kashira end (pommel end of handle) of the boken. I also used normal 550 paracord in foliage green for the 3 lead 5 bight turks head knot at the tsuba area (hilt area). The cord I used is not my first choice of cord or color. But it worked well for what I was doing. I would have prefered a cotton cord but nylon is what I had.
I have included links to a couple tutorials for these knots. On the Moku Hitching one it is a tutorial for half Moku hitching, but also has instructions for the full Moku Hitching.

Saturday, April 17, 2010
Keen Edge Training Knives
I am an assistant instructor for R.A.V.E.N. Tactical Systems Colorado, a division of R.A.V.E.N. Tactical Systems International. I'm also the International Quartermaster. SO one of my duties as such is to find quality training supplies and good EDC knives. In my search for a quality training knife at a great price I came upon Keen Edge Knives! Keen Edge Knives is local here in Colorado, a family business with one goal, make quality training knives and live blades. I personally think they make the best training blades I have ever used. If you are involved in a knife based martial art or a modern combatives I am willing to bet you have already seen or know of Keen Edge Knives.
We partnered with Keen Edge to produce our training blades and live blades for R.A.V.E.N. Tactical Systems International. We have designed two blades that are currently in production, The RAVEN Operator and the RAVEN Guardian. Both knives are a specific design to fit what we feel are needed in a good knife. One for operators such as military, the other for EDC and for back up for Police and Security professionals.
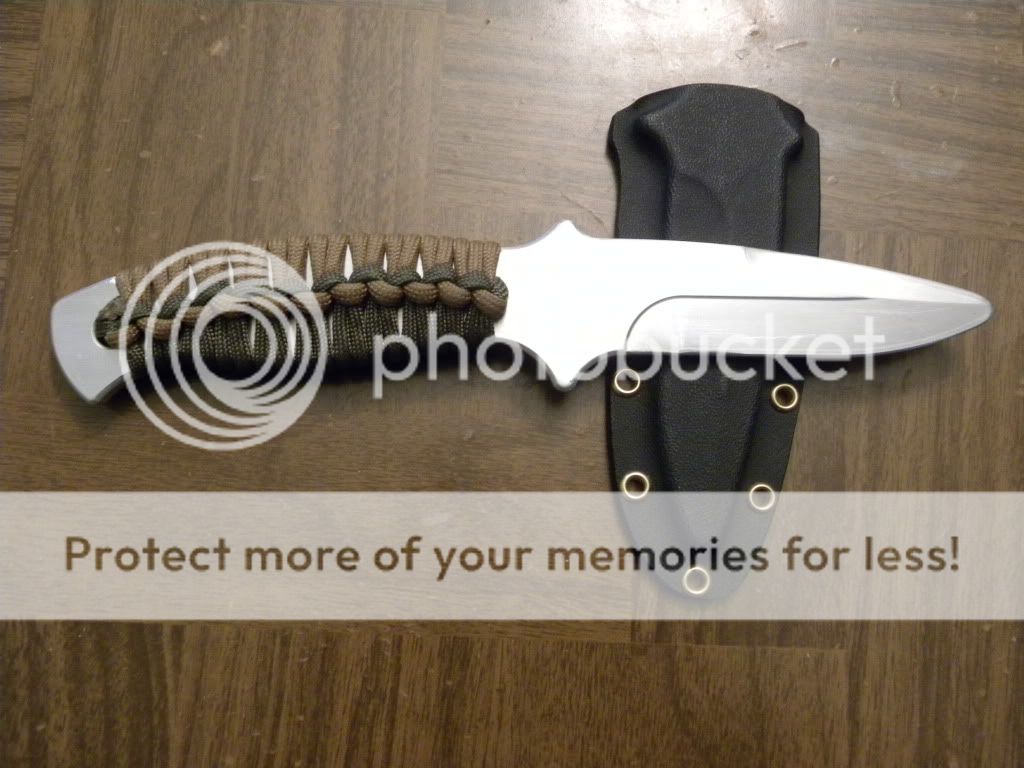
On the top is the RAVEN Operator, it's a combat sized blade in the just under 6" category. The bottom is the RAVEN Guardian, it's a 3" blade that is legal to carry in most areas. Both have a long handle with a large guard and a deep return. This allows you to choke out on the handle and still retain grip while giving you more range with the blade.
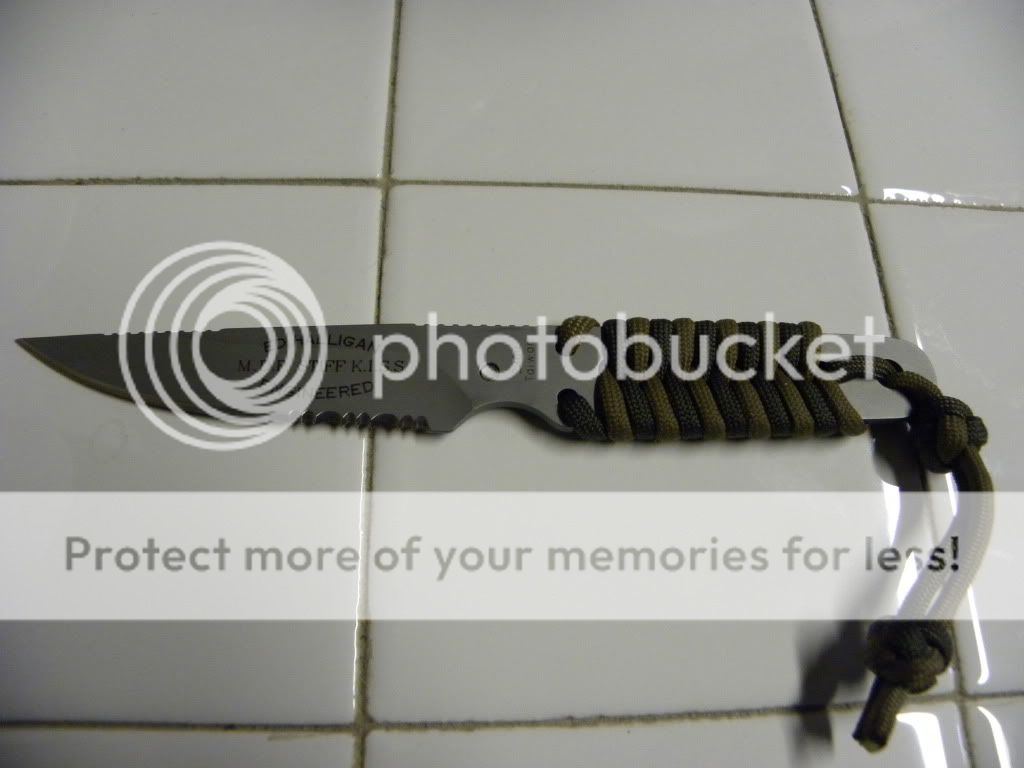
When I was asked by Keen Edge to find a way to wrap their handles with a two color scheme, I gladly accepted. They already use a very familiar knot to do their handle wraps. It's the basic cobra knot, made from a single length of paracord. The best way I found to use two lengths was to use a hole in the handle about three inches from the guard. I melted two strands together and took them back up the handle to another hole right below the guard. then did a normal cobra knot with the two colors. This accomplished two things. It got two colors on the handle, and made the grip a bit thicker where the two strands returned up the handle under the cobra knot.
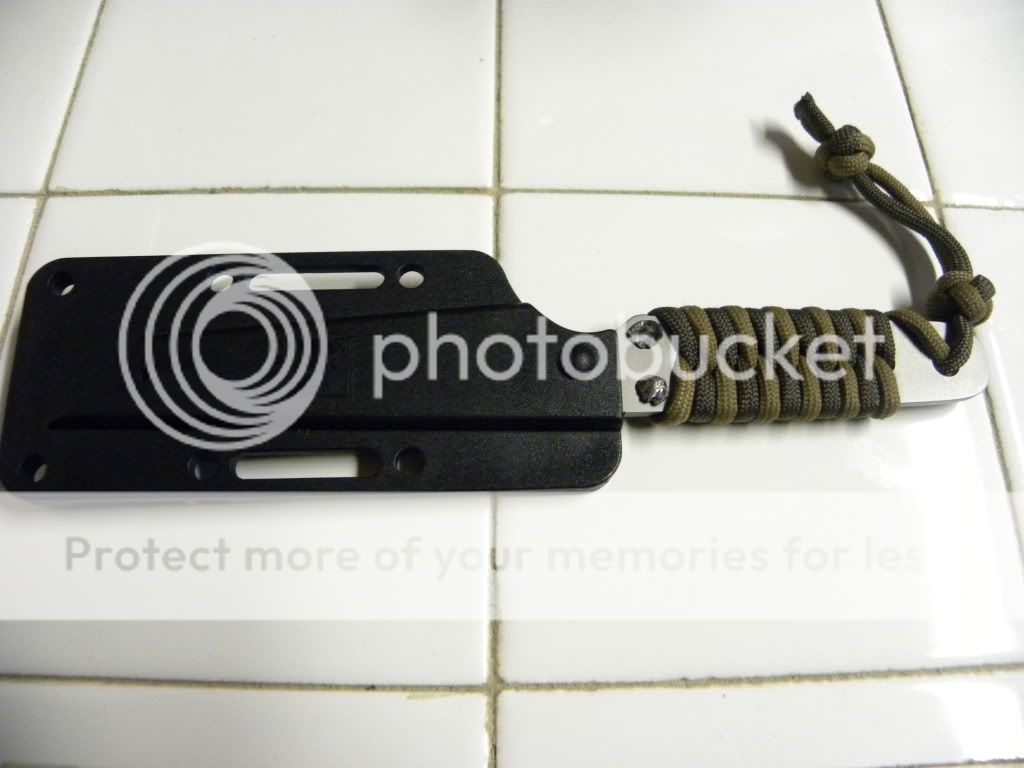
Here is the handle I wrapped for them as an example. This is one of their most popular designs. The P3 or tactical folder. As you can see they also make good kydex sheaths for their blades, both live and training.
Labels:
Keen Edge Knives,
Knives,
Paracord,
Tactical Training,
Wraps
Sunday, March 14, 2010
New and improved key keeper!
So I decided to try my key keeper another way. After thinking it over and deciding to use the same doubled cobra stitch I am going to use on my belt project, I really like the way these turned out! I used 1" snap hooks from Mil-Spec Monkey in coyote brown and foliage green. I used OD green and coyote on the one and OD green and foliage green on the other.
Monday, March 1, 2010
Second Diamond Braid
So after I showed my combatives instructor the first item I made with the diamond braid he thought i should make another item that could be used as a "flex" weapon. A flex weapon is just that, a flexible tool used for self defense. You can use a large bandanna, a small bit of rope or what not. So I made him a flex, about a foot and a half long, out of red and black 550 paracord. I used the same method to start as i did on the choker, a doubled lanyard knot. And used the snake knot as before as a whipping. But after the whipping used another doubled lanyard knot to finish it. I added a snake knot as whipping around the starting end as well to give it uniformity. And as the first time I used a bit of black 550 paracord to go through the first lanyard knot so it could not collapse on itself, finished with a normal lanyard knot.
A small key fob on a whim.
I had a few object laying in the top tray of my paracord toolbox that I had yet found a use for. I had a small spring clip and a stone skull with a hole large enough to use with paracord. I'm not sure what the stone is, but it's red with black marbling. It may be Jasper, but I'm no geologist. So I did a simple Cobra stitch (Solomon bar) fob with the spring clip on one end and the skull on the other. I used foliage green paracord for this one. And I think that is quickly becoming one of my favorite colors of paracord.
First attempt at a diamond braid.
I recently made my first attempt at a diamond braid. I used black and tan 550 paracord and made a choker of sorts. I used a lanyard knot doubled up to start. To keep the knot from collapsing on itself i put a single strand of black 550 paracord through the loop, finishing it off with another lanyard knot. I then used the diamond braid to get it roughly the length I wanted. To end it I used a snake knot to whip the end. Leaving a loop to capture the lanyard knot in.
Thursday, January 28, 2010
Pracord Key Keeper.
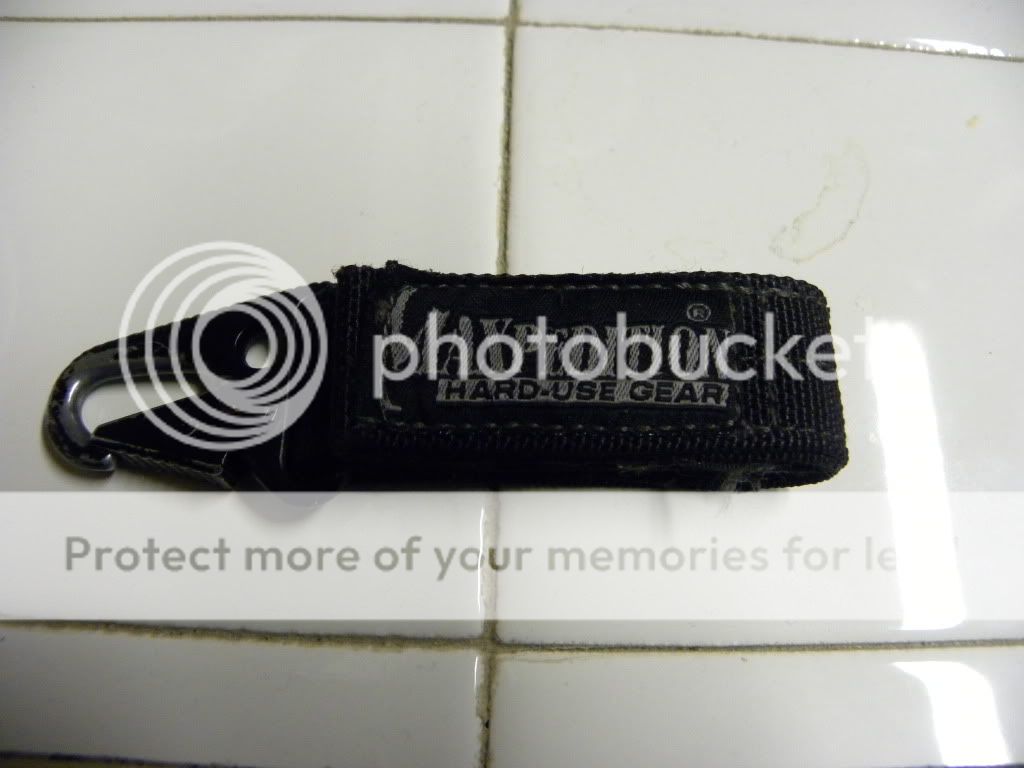
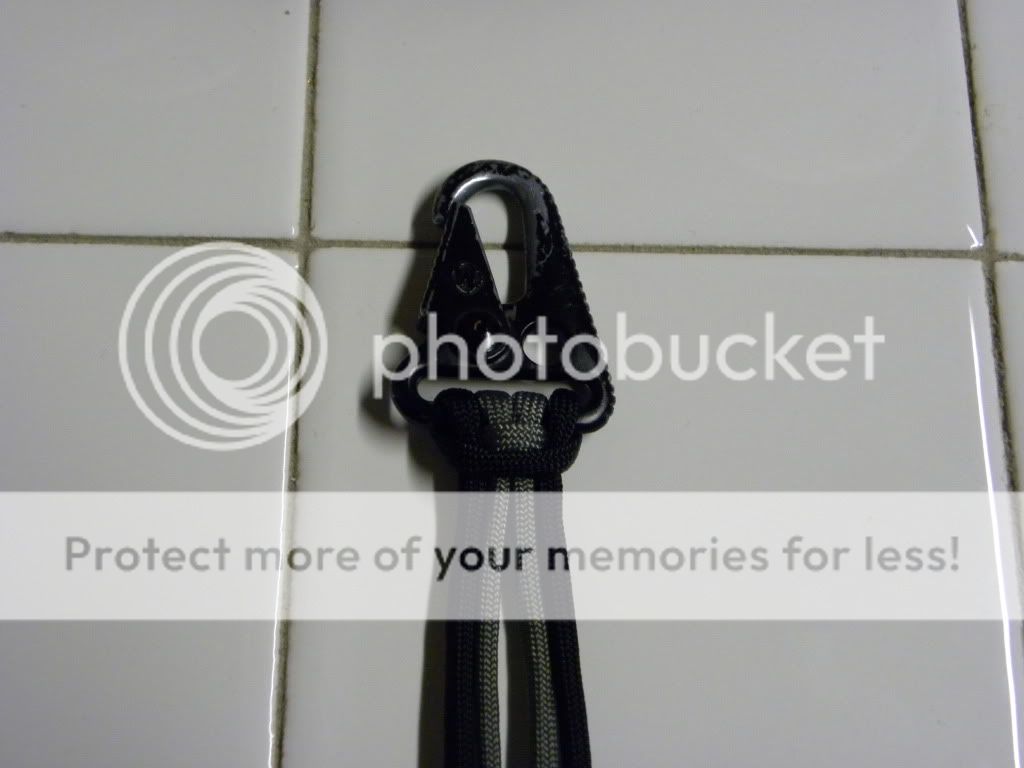
So I decided to sacrifice my long used, and well worn Maxpedition key keeper to make a paracord one. I used about 12 feet of black 550 for the king cobra stitch. I used a small anount of foliage green 550 for the center of the stitch. The style of snap hook I used can be found in a lot of places. Mil-Spec Monkey is one of the best, not to mention they have them in coyote and foliage green.
Finished product. Also visible is my little skull bead snake knot key fob.
The original. These are great and worth every penny, but why not have one made of paracord?
here is the start with foliage green 550.
Here is the second and main color.
Finished product!
Finished product. Also visible is my little skull bead snake knot key fob.
The original. These are great and worth every penny, but why not have one made of paracord?
here is the start with foliage green 550.
Here is the second and main color.
Finished product!
My New Belt Project.
So I sat down yesterday and figured out my foot per inch for a new belt. I'm using a side by side cobra stitch woven together. It is still about a foot per inch, I am doing it using four strands doubled over around a buckle. With my waist the belt shoud contain around 160' of cord divided into four sections when all is said and done. I am going to preview my idea here in a small 5" section. I'm not sure what color combo I'm going to do the actual belt in.
Here is a 5 inch section, done around a pen body.
Here it is with a buckle to show just how nice it is going to be when finished.
Here is a 5 inch section, done around a pen body.
Here it is with a buckle to show just how nice it is going to be when finished.
Monkey Fist Lanyard
I make a lot of monkey fist self defense tools. I make them as discreet carry bracelets, and long flails and as I will show here as lanyards. You could use this for a knife lanyard, or attach it to your keys or what not. Like most of my monkey fists, this one contains a 5/8" stainless steel ball bearing.
Here we have it as a lanyrad on my trusty Cold Steel AK-47
Here it is on my key chain. Also visible is my two bight turks head key fob.
This is an older photo, of the same lanyard minus the skull bead on one of my nicer carabiners.
Here we have it as a lanyrad on my trusty Cold Steel AK-47
Here it is on my key chain. Also visible is my two bight turks head key fob.
This is an older photo, of the same lanyard minus the skull bead on one of my nicer carabiners.
Wednesday, January 27, 2010
Yes I sell my items, actually I like to sell them.
I do have to admit this is a hobby, more like an obsession, but I do sell my projects. I sell them at siminars I work at, at gun shows, and I now sell them on my ebay. I don't expect to get rich, or do anything that has never been done. But I hope that my paracord habit will pay for itself.
A sample of bracelets I have made.
Here are a few styles of bracelet I have made.
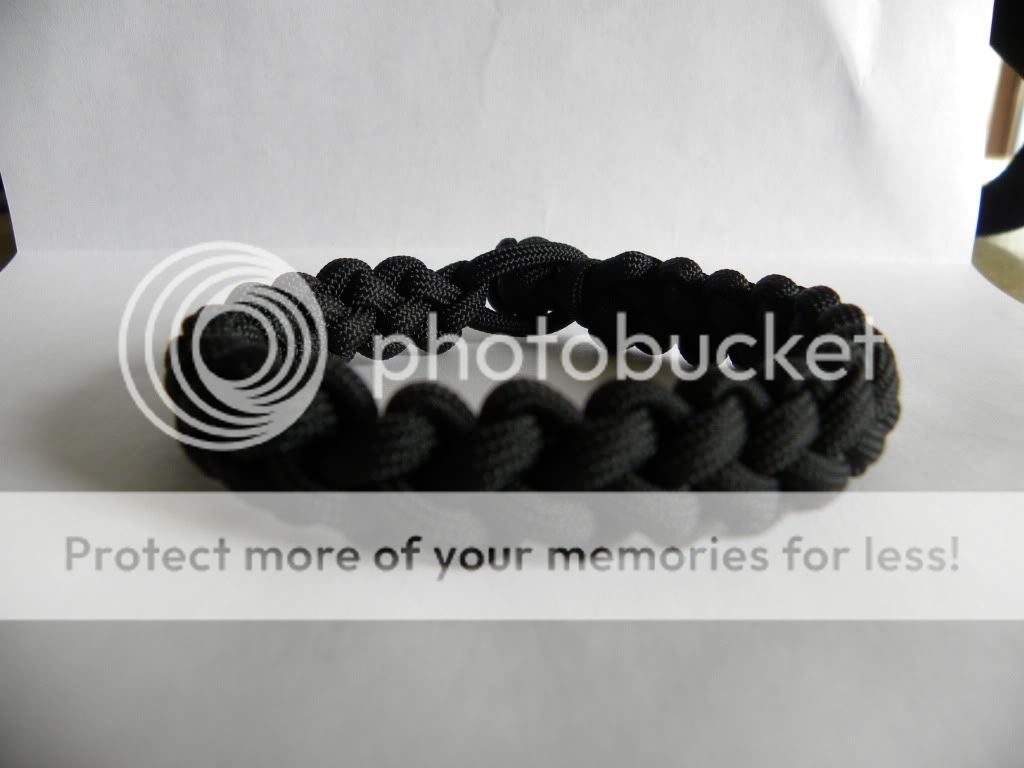
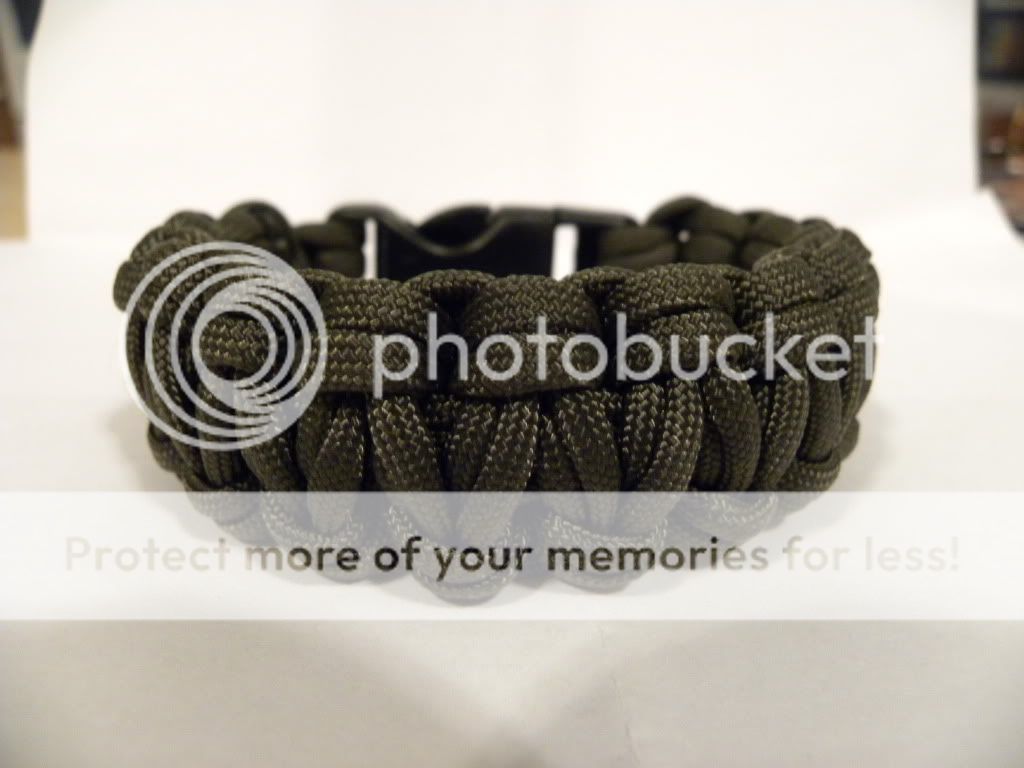
From left to right, a simple three pass weave, a round crown sinnet, double cobra stitch (not happy with this one, will remake another), single cobra stitch, another single cobra stitch and a chain sinnet.
From left to right, a simple three pass weave, a round crown sinnet, double cobra stitch (not happy with this one, will remake another), single cobra stitch, another single cobra stitch and a chain sinnet.
King Cobra Stitch Monkey Fist Bracelet.
I make a few self defense items with monkey fists. This is one variation I make with a king cobra stitch. This one happens to be three colors of paracord. I used desert tan, coyote brown and OD green. This can be worn as a bracelet and used as a flail in a sekf defense situation.
I used one color for the monkey fist, leaving two strands to be used as the center of the cobra stitch. A lanyard knot was used to finish the end. then one pass with another color for the cobra stitch and another for the king cobra stitch.
I used one color for the monkey fist, leaving two strands to be used as the center of the cobra stitch. A lanyard knot was used to finish the end. then one pass with another color for the cobra stitch and another for the king cobra stitch.
Two Bight Turkshead Wrap.
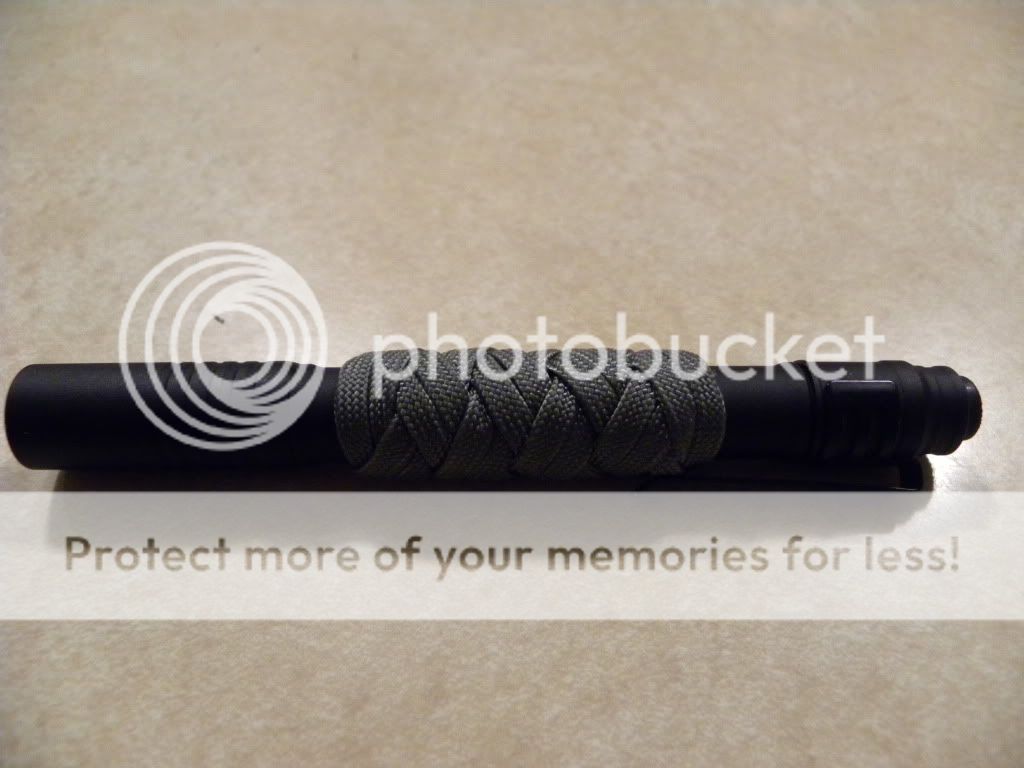
I did a two bight turks head wrap on my Streamlight Stylus Pro. This is the best $20 bucks I ever spent. A 25 lumens light in a small every day carry flashlight. And after the turkshead wrap it sits perfect in my pocket.
I think the best tutorial for turkshead knots is Stormdrane's video tutorial. It is the easiest tutorial I have seen for turks heads. He also has tutorials on other knots. Check out his blog to see his projects and tutorials.
I think the best tutorial for turkshead knots is Stormdrane's video tutorial. It is the easiest tutorial I have seen for turks heads. He also has tutorials on other knots. Check out his blog to see his projects and tutorials.
Subscribe to:
Comments (Atom)


